SR Zones
v.1.0.0.0 Any instrument Any timeframe
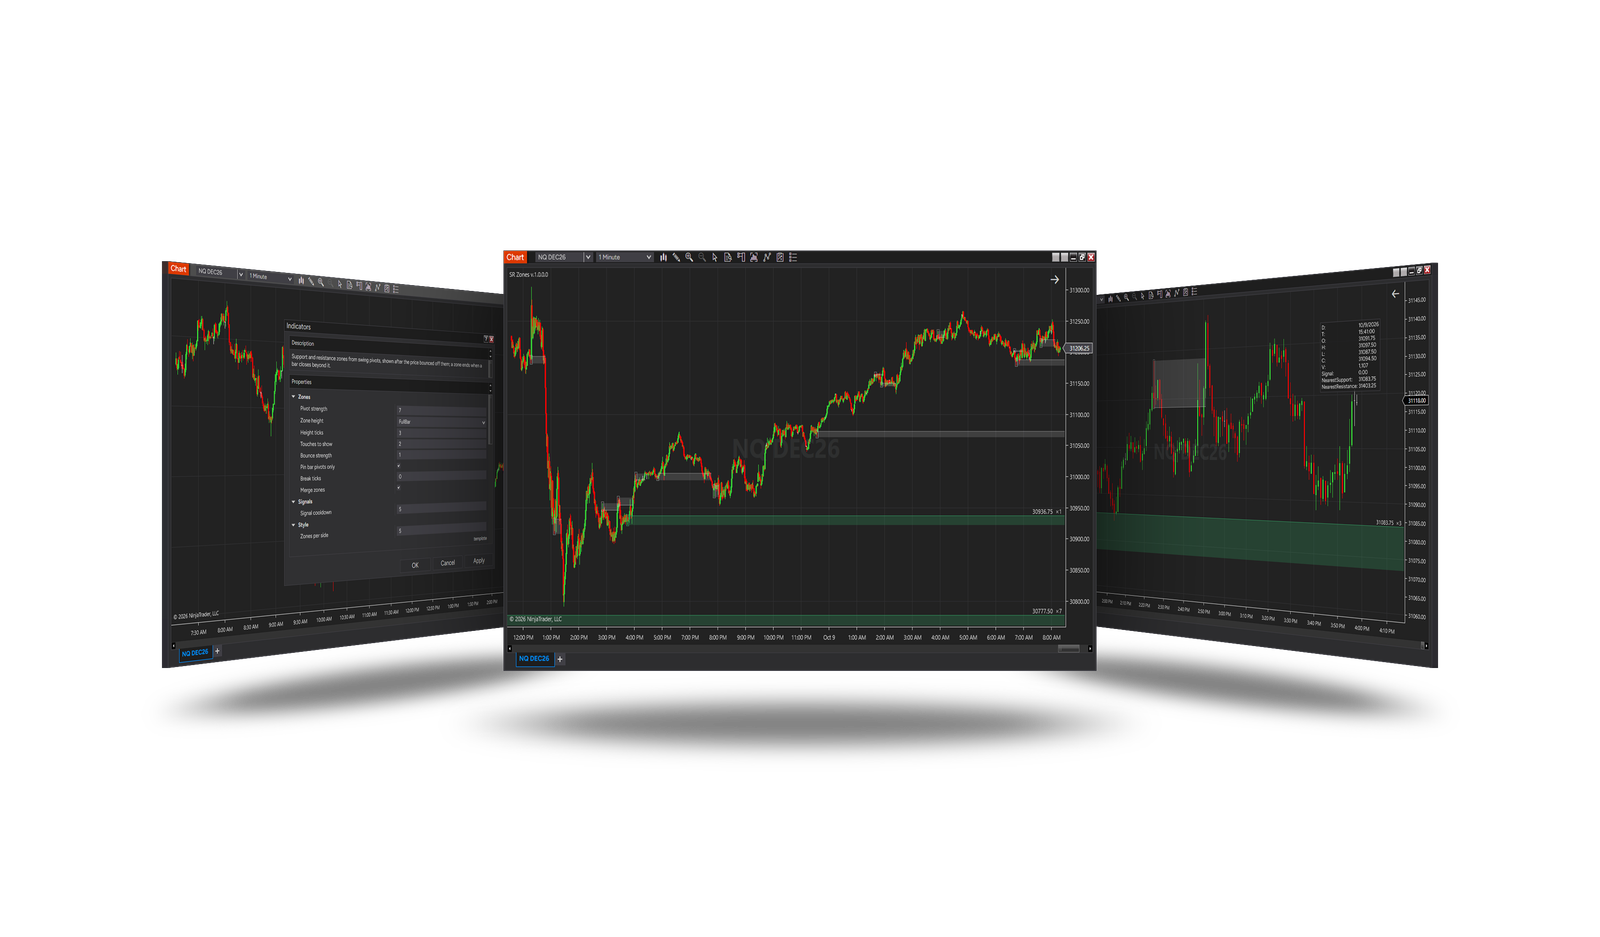
Overview
Draws support and resistance zones where the price turned, and keeps only the ones the market has respected. A zone starts at a swing high or low; it appears once the price has bounced off it the set number of times, and it ends when a bar closes through it. Strategies can read its bounce signal and the nearest zones.
How it works
- A swing - a bar higher (or lower) than Pivot strength bars on each side - starts a zone. Its height comes from that bar: the whole bar, its wick, its body, or a number of ticks.
- Bounces. A small swing that dips into the zone and closes back out of it is a bounce. After Touches to show bounces the zone appears on the chart. With 0 it appears at once.
- Merging. A new swing inside a living zone of the same side widens that zone and counts as a touch, so the chart is not cluttered with near-identical zones.
- The break. A bar closing beyond the zone (by Break ticks) ends it. Broken zones can stay in grey up to the bar that broke them.
Everything is decided on closed bars - a zone never appears early and never disappears afterwards.
Parameters
Zones
| Parameter | Default | What it does |
|---|---|---|
| Pivot strength | 7 | Bars on each side a swing high / low must stand above / below to start a zone. Higher = fewer, more significant zones. |
| Zone height | Full bar | Full bar: the pivot bar's high to low. Wick: its tail. Body: its body. Ticks: Height ticks from its extreme. |
| Height ticks | 3 | The zone's height in ticks when Zone height is Ticks. |
| Touches to show | 2 | Bounces off a zone before it is shown. 0 = shown at once. |
| Bounce strength | 1 | Bars on each side of the small swing that makes a bounce. |
| Pin bar pivots only | On | Only a pin bar - a small body and a long tail towards the zone - starts a zone. |
| Break ticks | 0 | A close this many ticks beyond the zone ends it. |
| Merge zones | On | A new swing inside a living zone of the same side widens it and counts as a touch. |
Signals
| Parameter | Default | What it does |
|---|---|---|
| Signal cooldown | 5 | Bars after a signal before the next one on the same side. |
Style
| Parameter | Default | What it does |
|---|---|---|
| Zones per side | 5 | The living zones shown on each side, nearest to the price first. 0 = all. |
| Show broken zones | On | Broken zones stay in the broken colour up to the bar that broke them. |
| Labels | On | The zone's edge price and its number of touches (×2) at the right edge. |
| Mark pin bars | On | An outline around the pin bar a zone came from. |
| Support / Resistance / Broken color | green / red / silver | The zone colours. |
| Opacity | 30 | The zones' fill opacity, %. |
Presets
| To get | Set |
|---|---|
| Every swing as a thin level, at once | Touches to show 0, Pin bar pivots only off, Zone height Ticks, Height ticks 3 |
| Confirmed pin-bar zones | the defaults |
For strategies
Values in the Data Box and for strategies:
| Value | Meaning |
|---|---|
| Signal | +1 a bounce off a support zone, -1 off a resistance zone, 0 otherwise. One per side per Signal cooldown. |
| NearestSupport | The top of the nearest living support zone below the close; empty when there is none. |
| NearestResistance | The bottom of the nearest living resistance zone above the close; empty when there is none. |
Version history
v.1.0.0.0 - October 2026
- New: support and resistance zones from swing pivots, shown after bounces, ended by a close through them; merging, zones per side, labels, pin-bar marks; Signal, NearestSupport and NearestResistance for strategies.